Using STATA with Visual Studio Code
Installing VS Code
In this tutorial, we’re going to install VS Code and the necessary extensions to get LaTeX, STATA, R, and GitHub Copilot up and running.
First, go here to download VS Code.
Installing Extensions
Once you’ve downloaded and installed VS Code on your computer, you’ll need to add the necessary extensions to incorporate VS Code into your workflow.
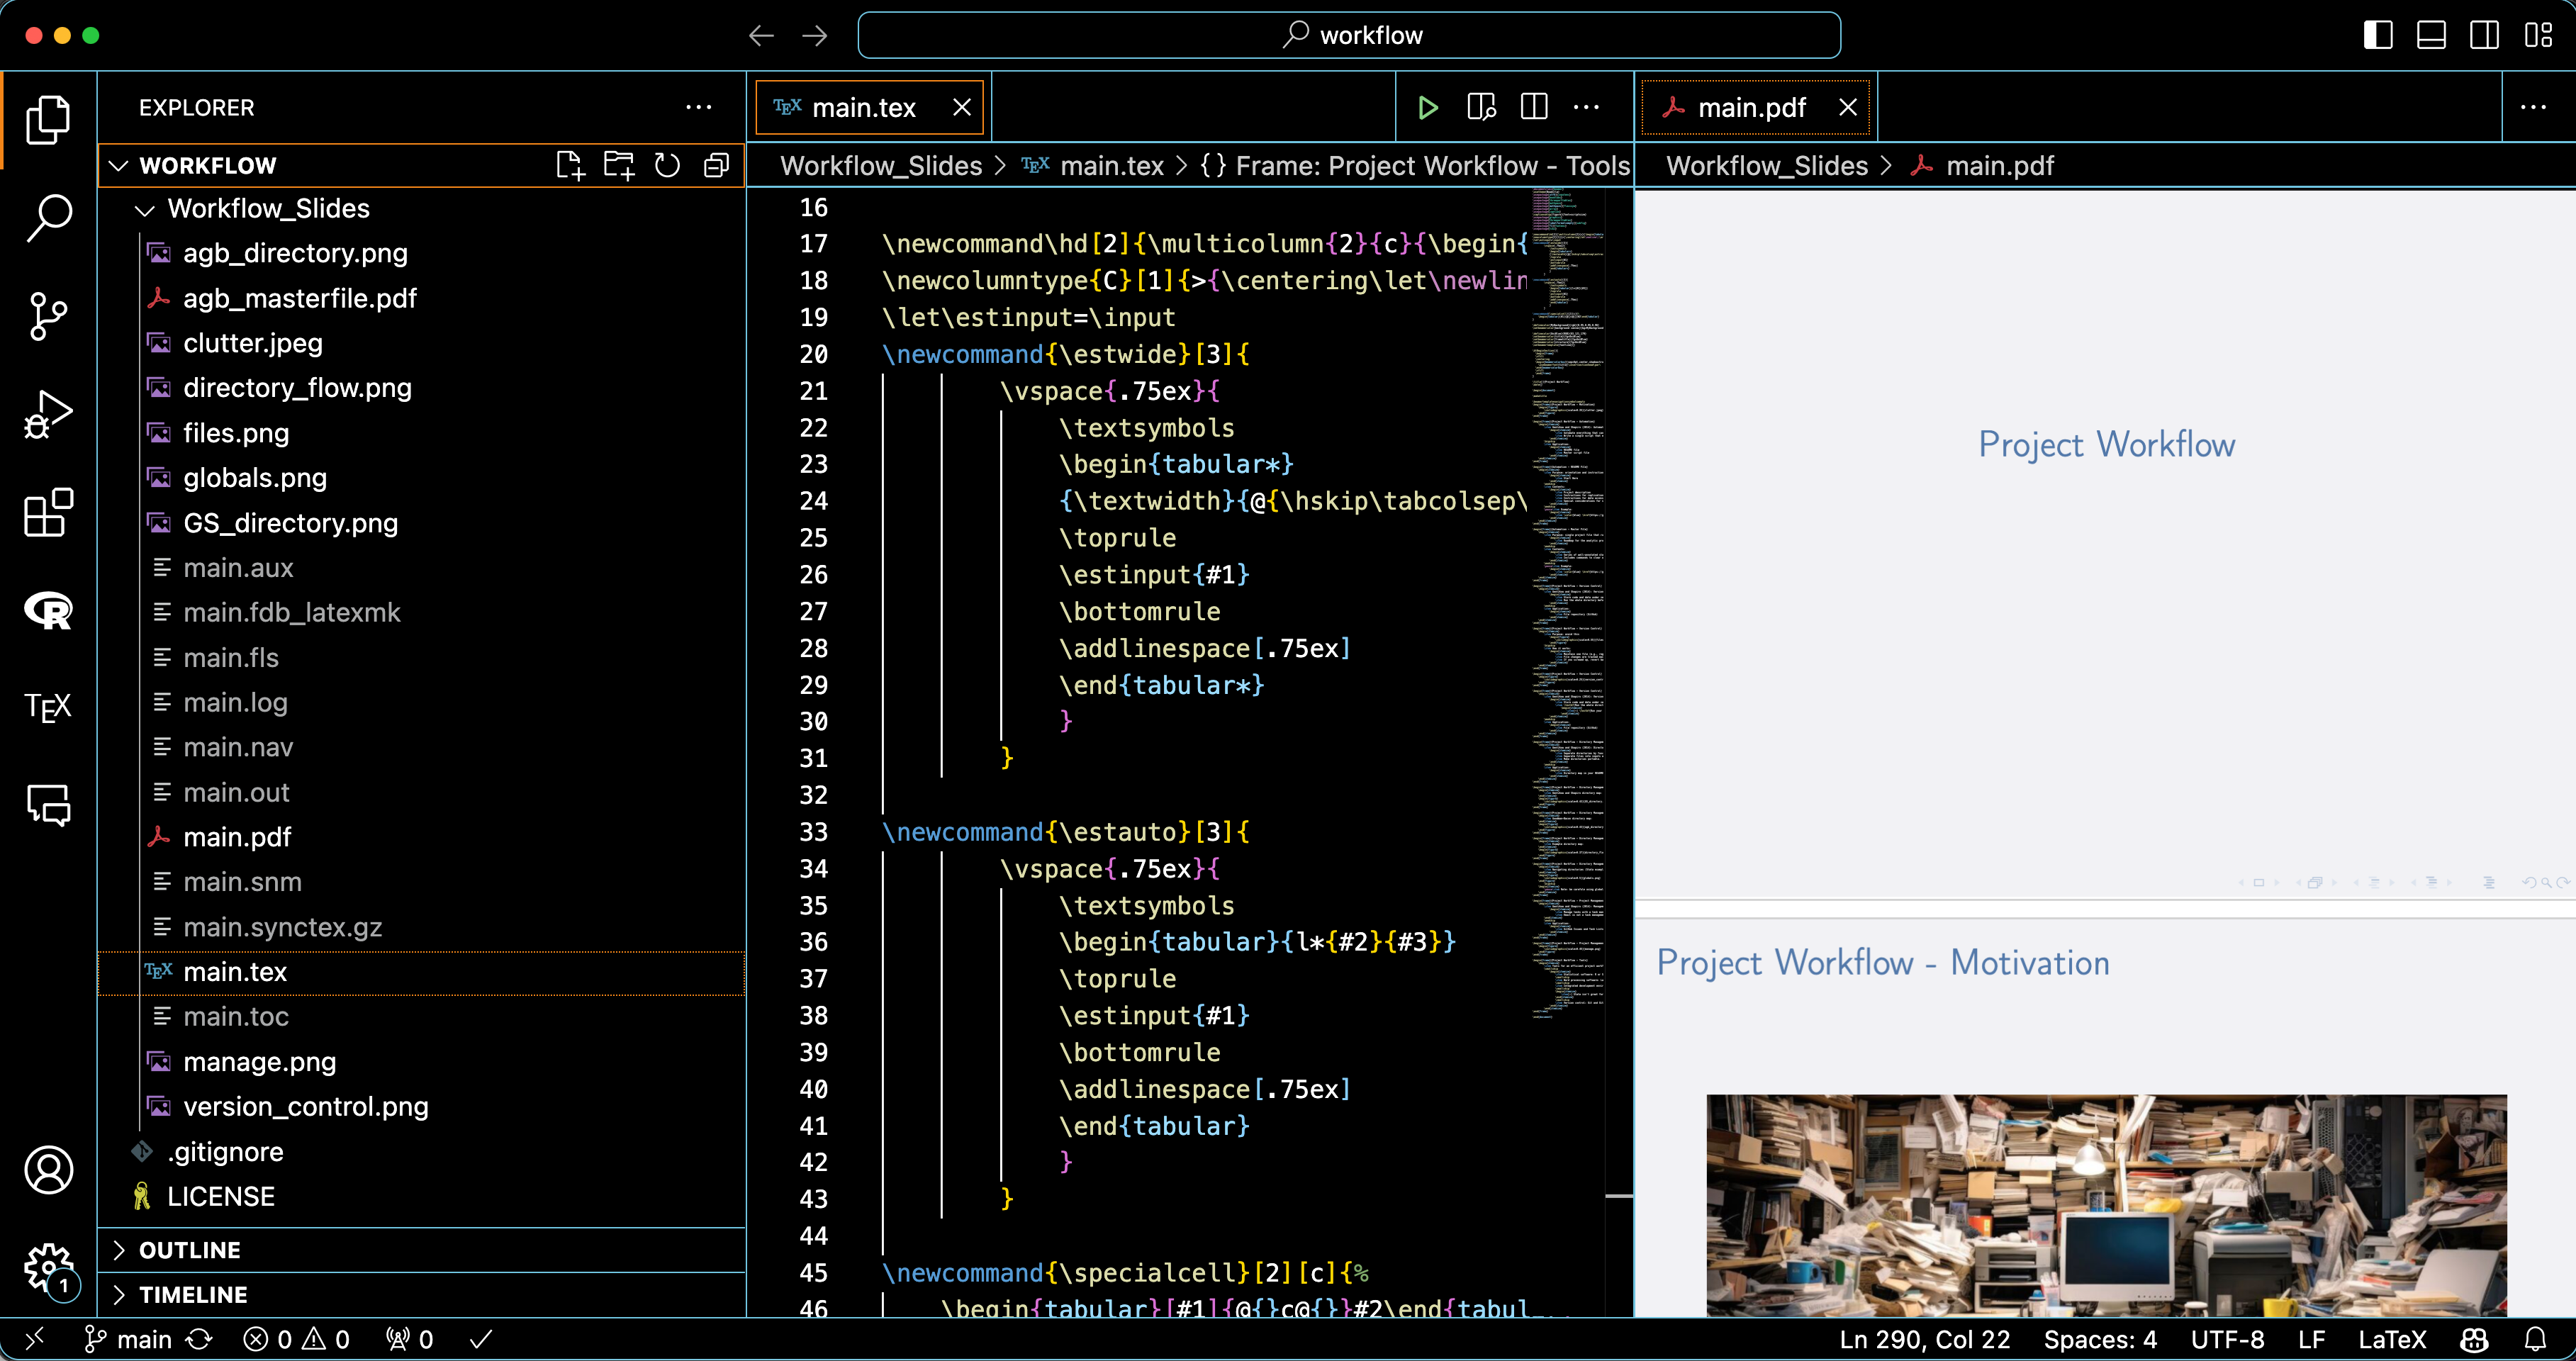
You’ll want to install the LaTeX extension if you plan to do any manuscript editing in LaTeX or create any Beamer slides.
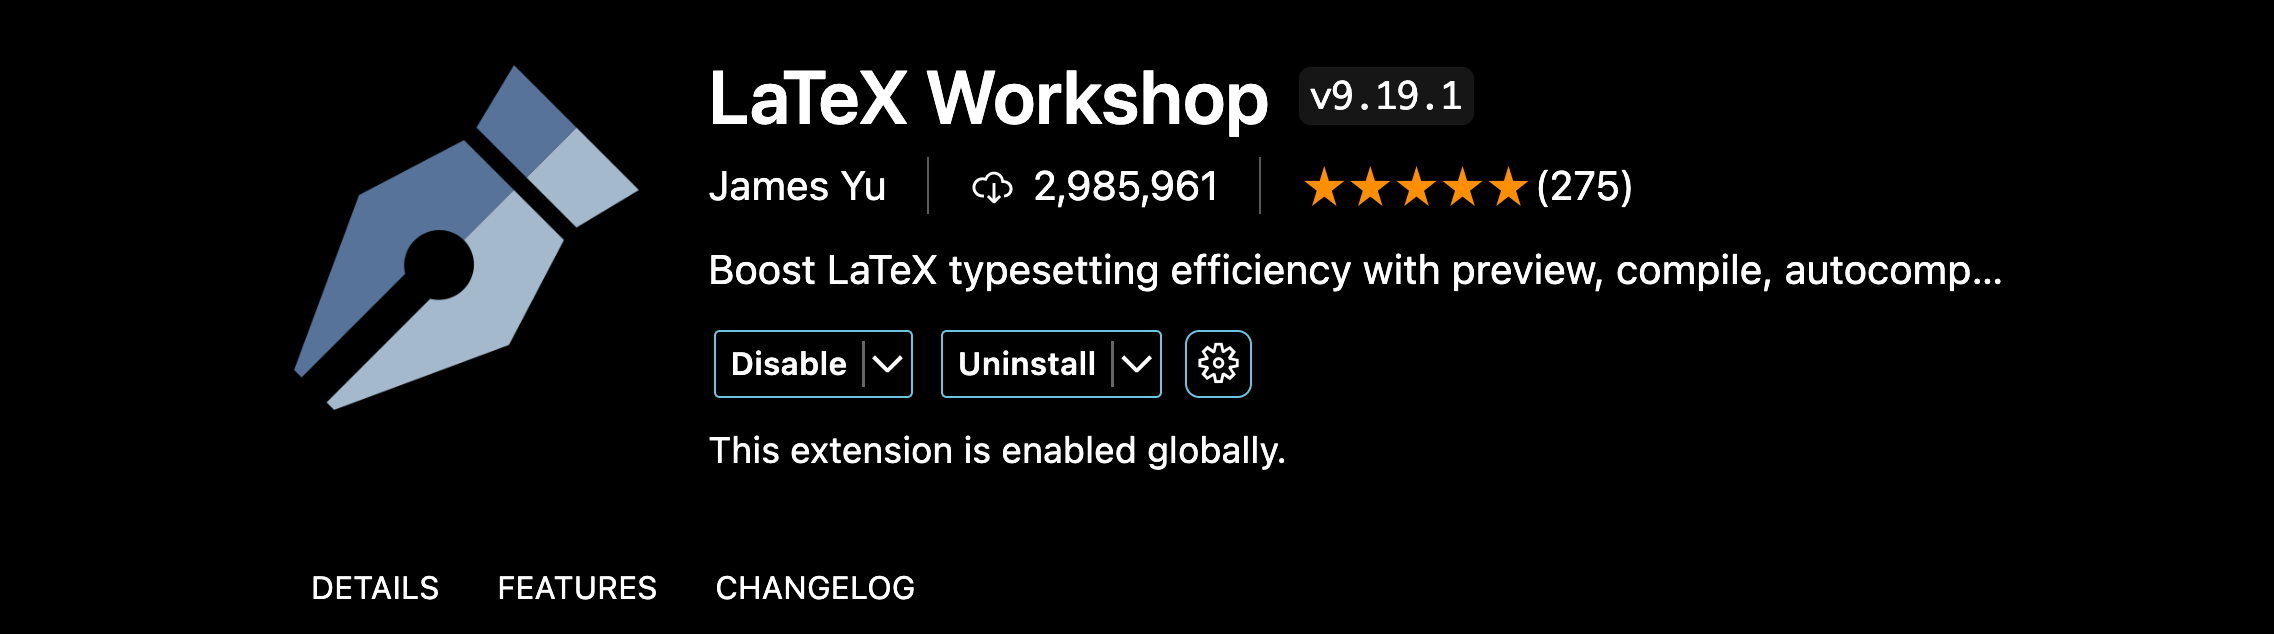
With the LaTeX extension installed, you can edit documents directly in VS Code and push changes to those documents to GitHub/Overleaf (see my VS_Code and GitHub and my Overleaf and GitHub for further instructions).
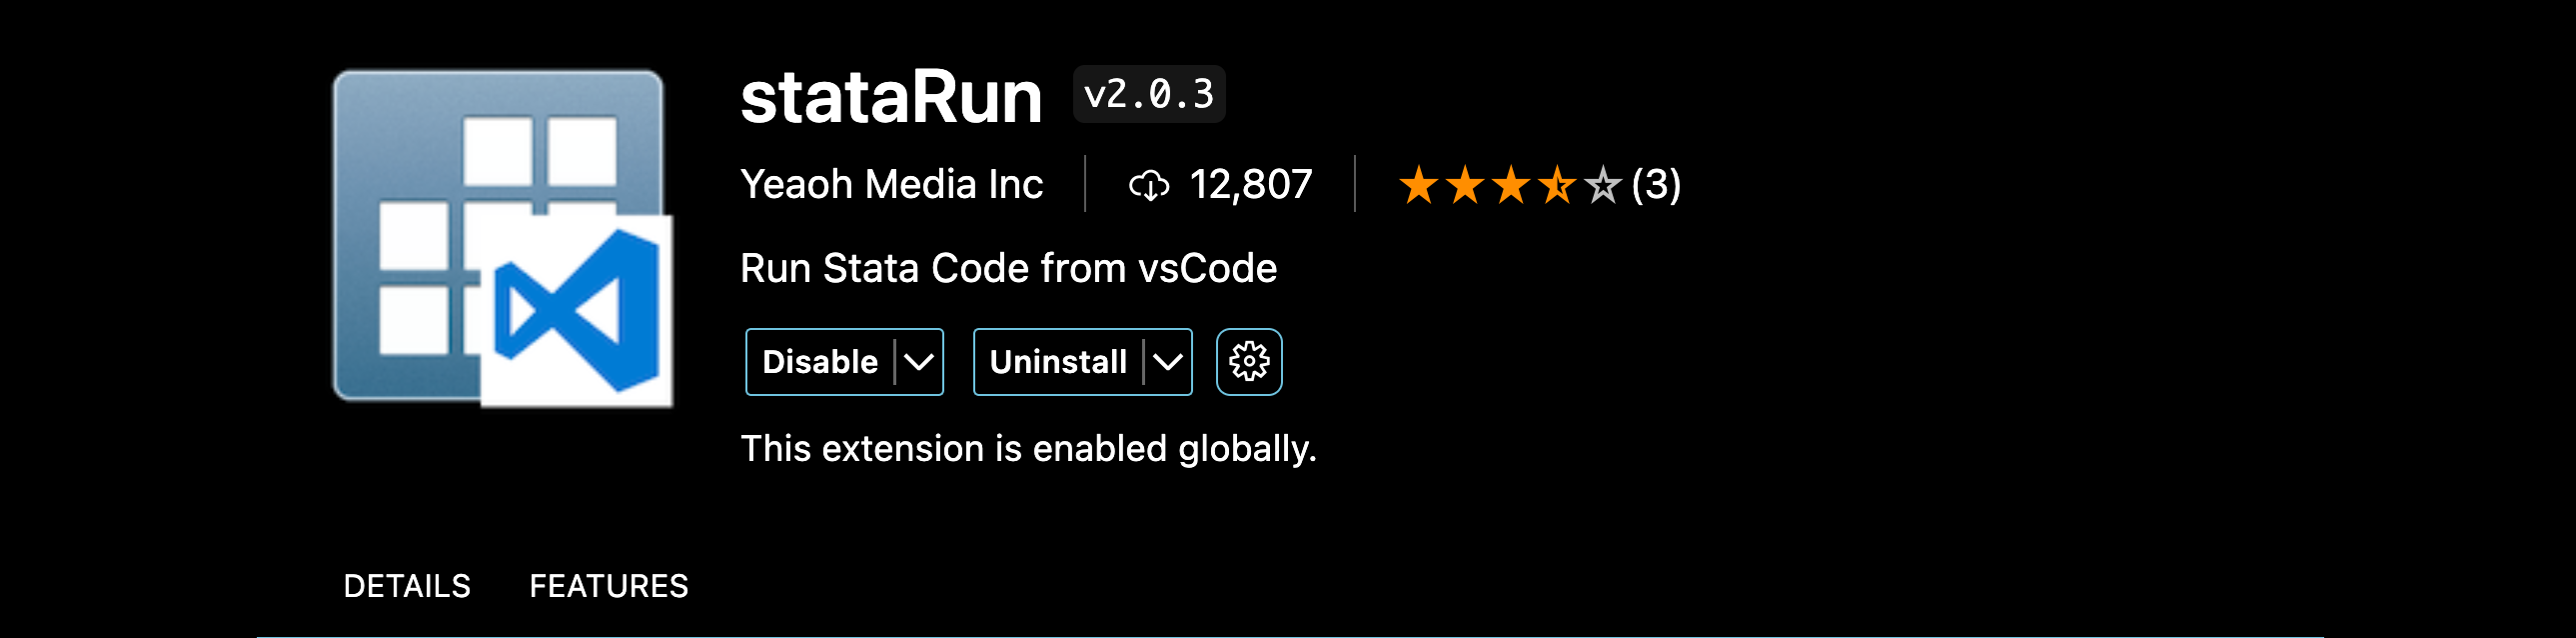
Next we’ll install two extensions that will allow us to use STATA with VS Code. The key extension is called “stataRun” and actually allows VS Code to run STATA commands:
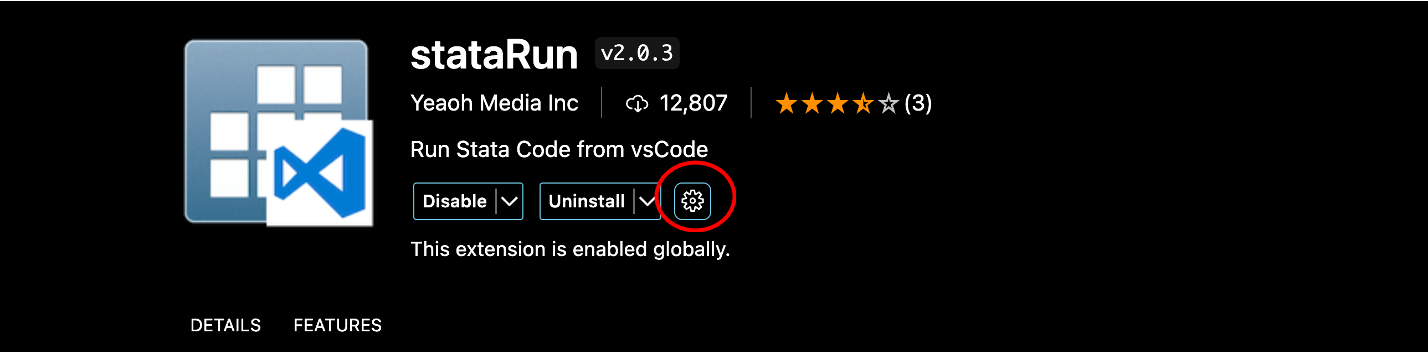
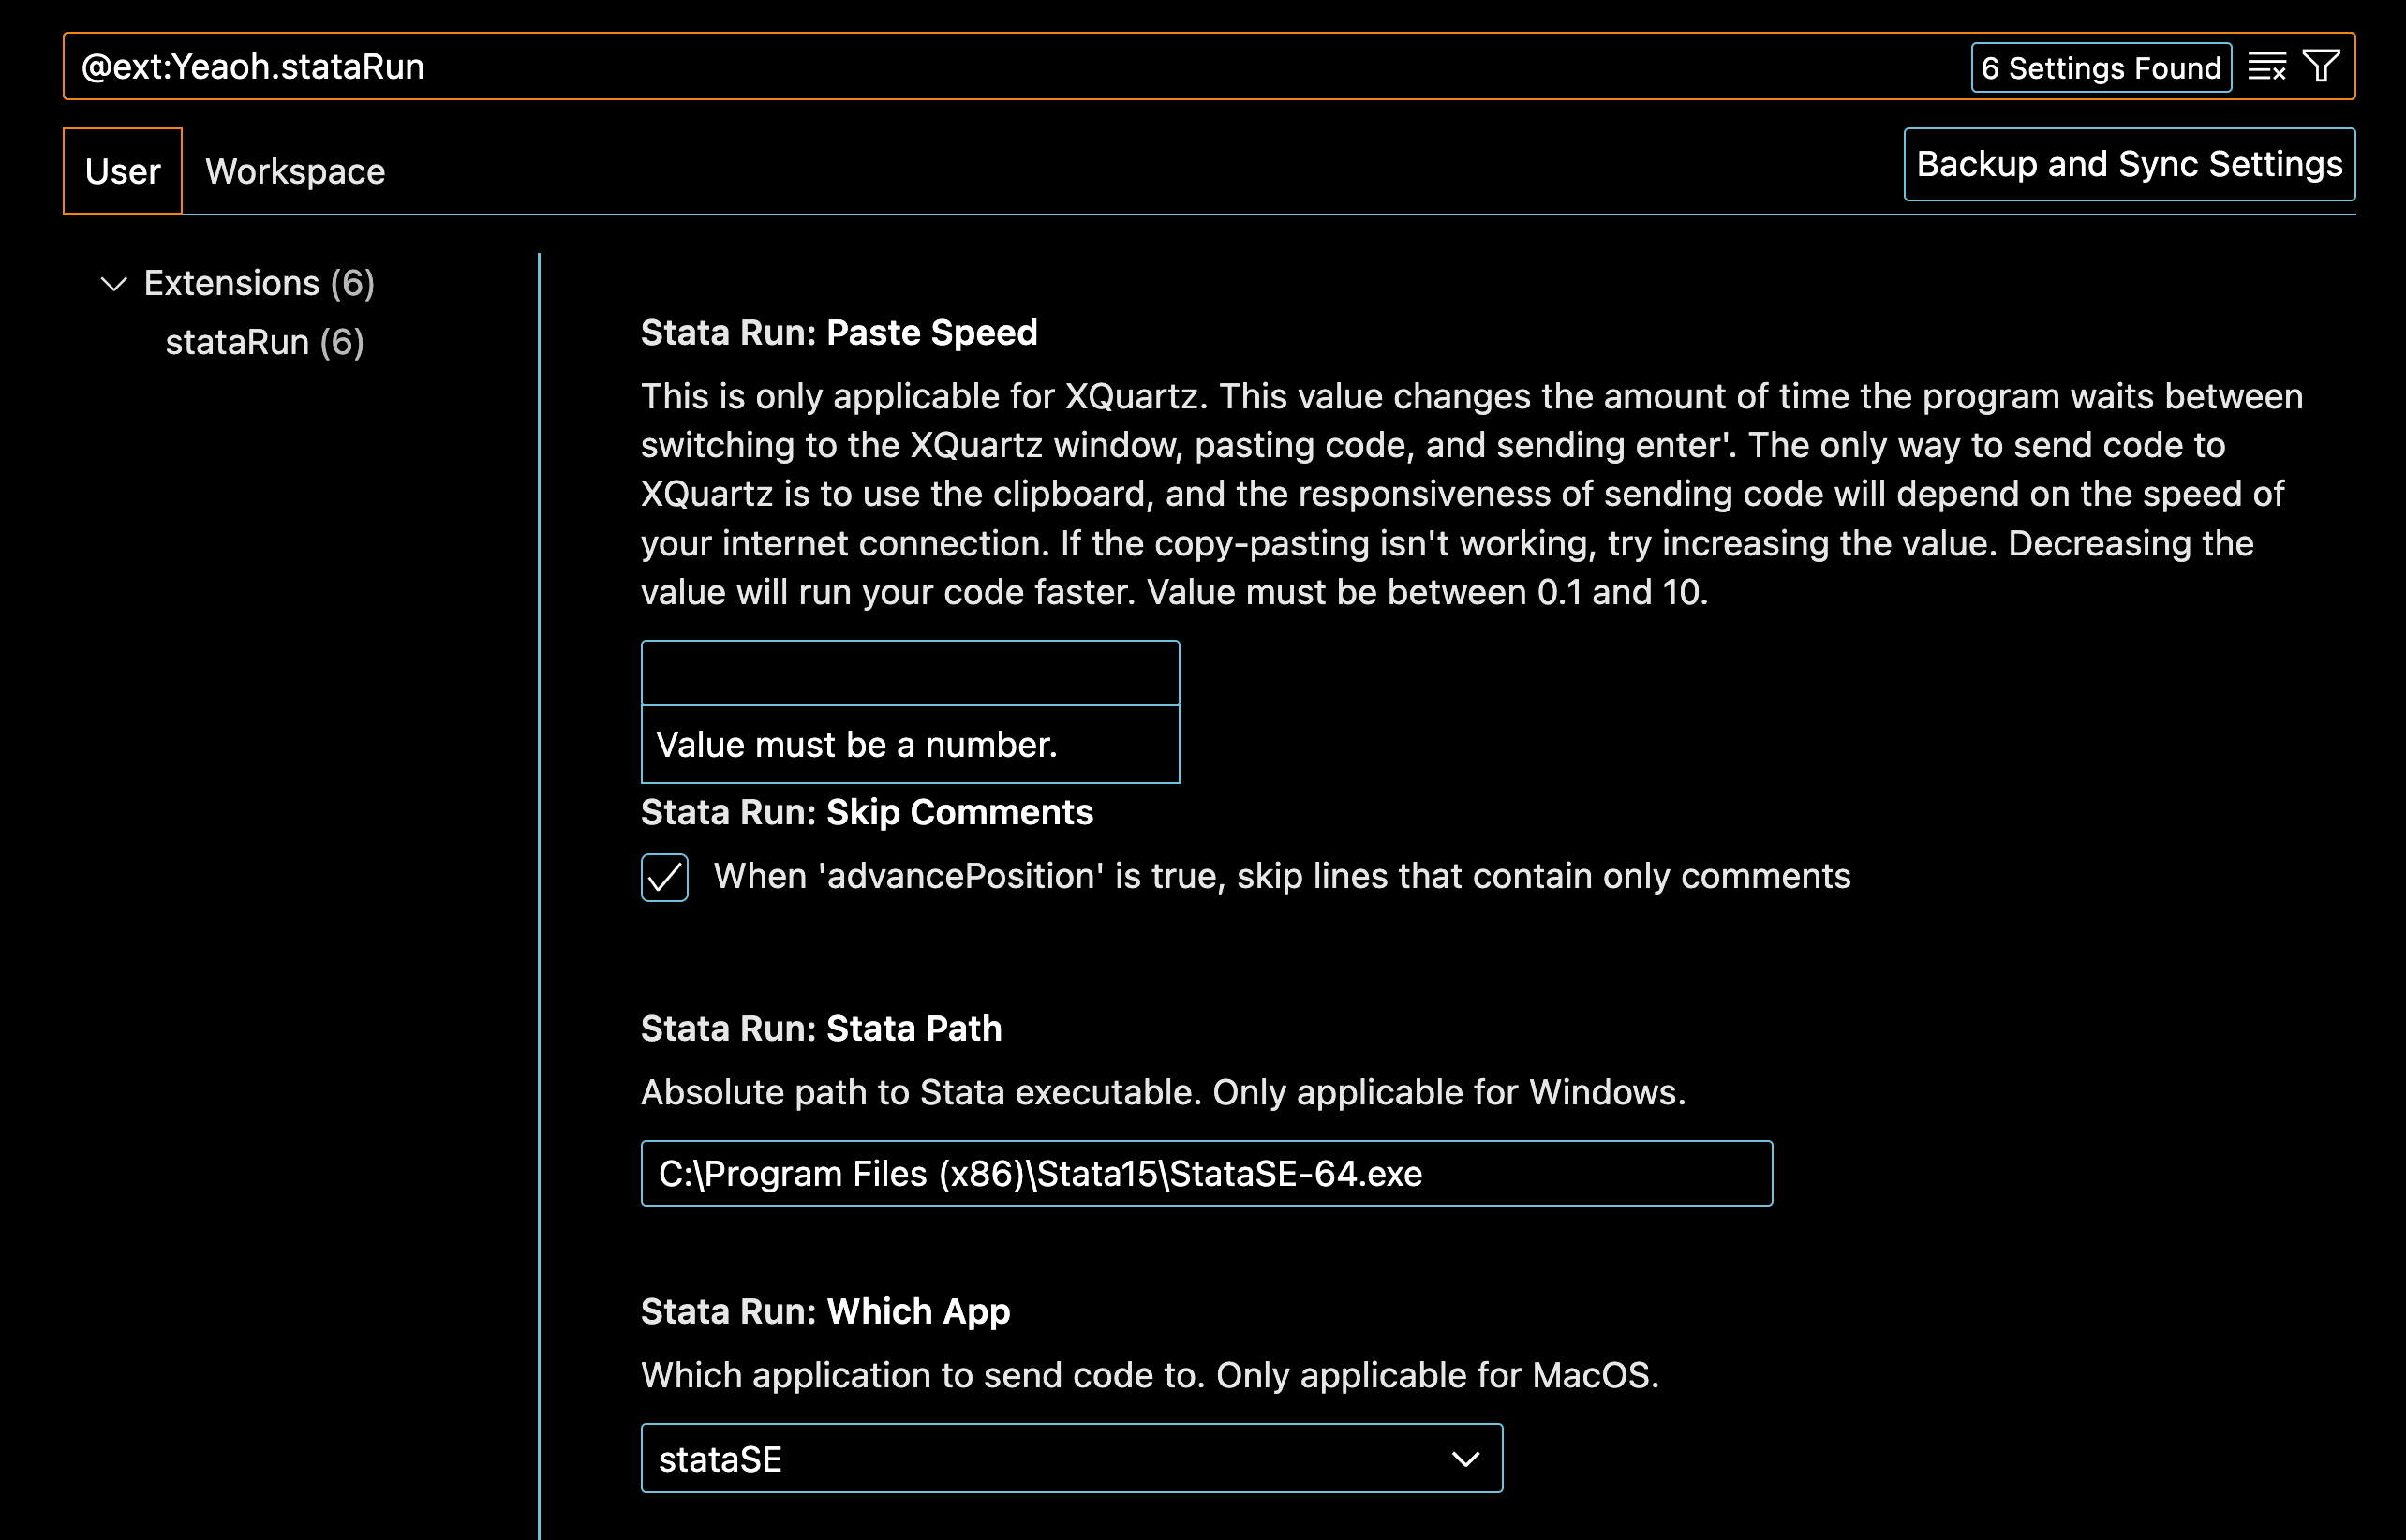
Once you install this extension you need to go to the extension settings by clicking on the gear icon:
And then make sure the path is correct if you’re using Windows and that the STATA version is correct:
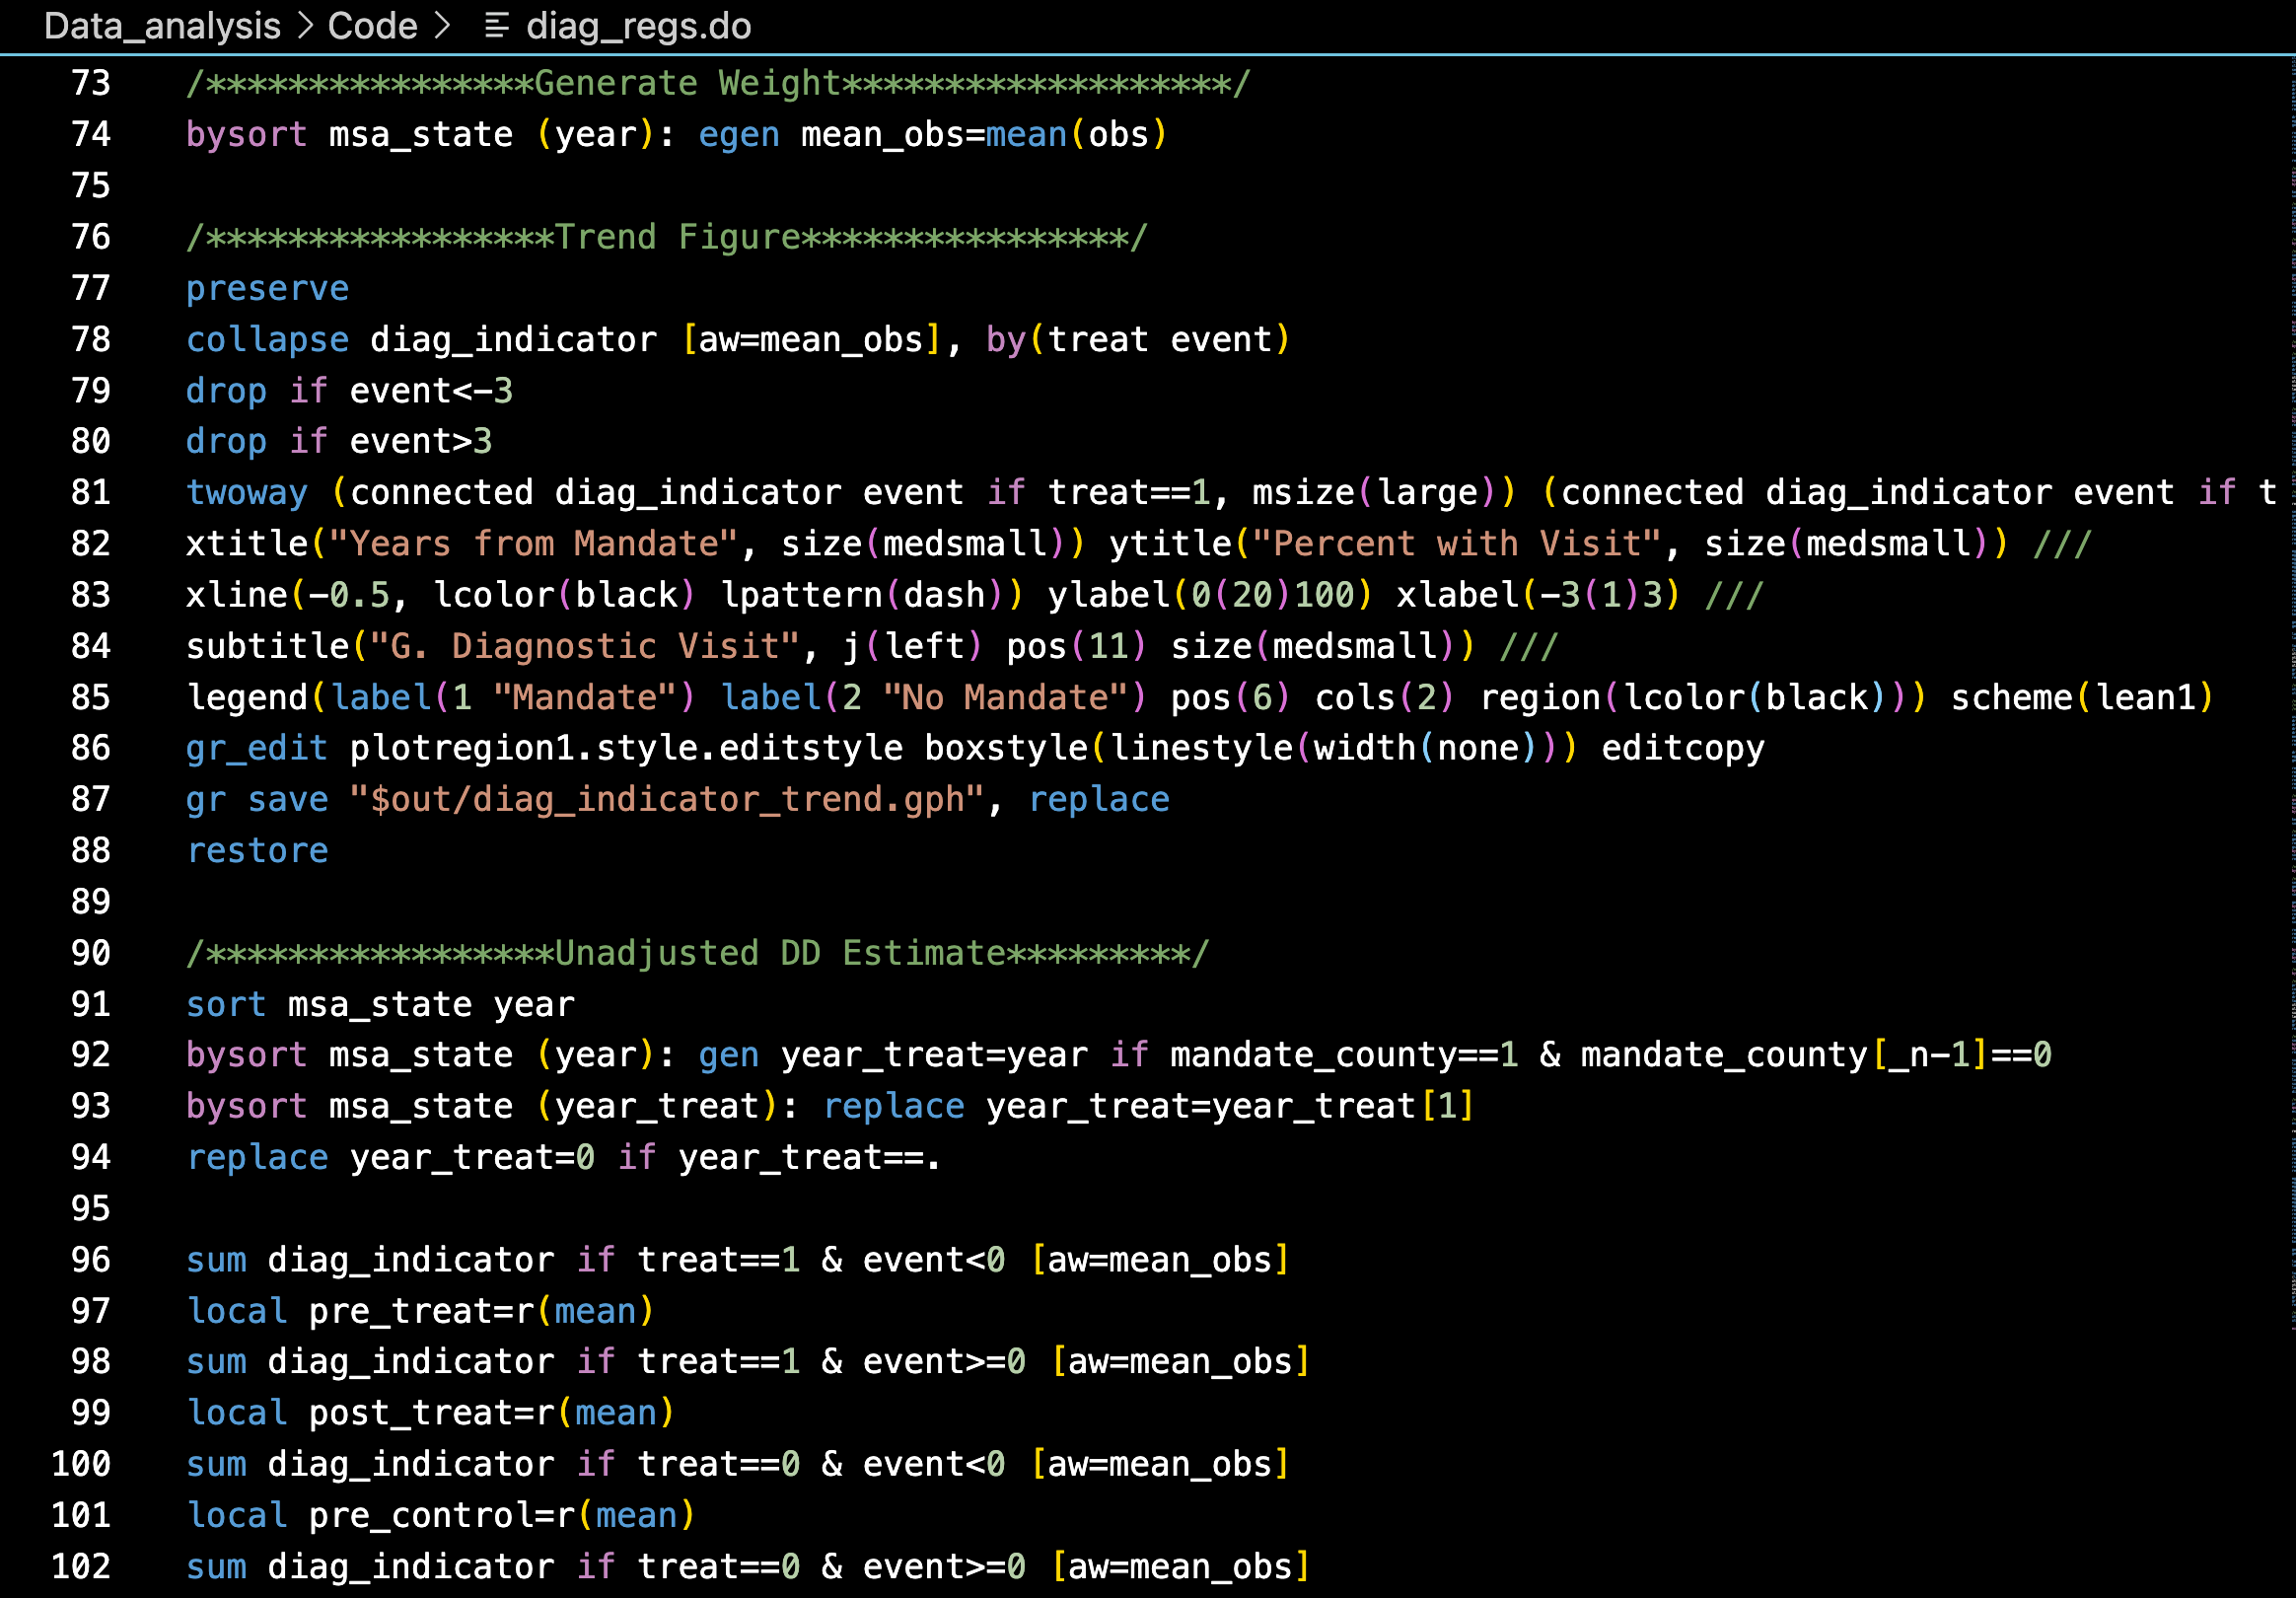
I also recommend installing the “Stata Enhanced” extension that adds colors to your .do file syntax:

That will make your .do files easier to navigate. For example:
A few helpful STATA shortcuts when using VS Code:
- shift+command_a -> runs your entire .do file
- shift+command+s -> runs a highlighted code chunk from your .do file
- shift+command+c -> runs the current line of code in your .do file
GitHub Copilot
You can find instructions for signing up for a free student GitHub Copilot subscription here.