Using GitHub with Overleaf
Overleaf and GitHub
This guide will cover the basics of linking an Overleaf project to a GitHub repository. Before beginning this tutorial, you’ll need to install Git on your computer and sign up for a GitHub account (see this guide for instructions). You’ll also need to have a premium Overleaf account- unfortunately, free Overleaf does not support GitHub synchronization.
The Setup
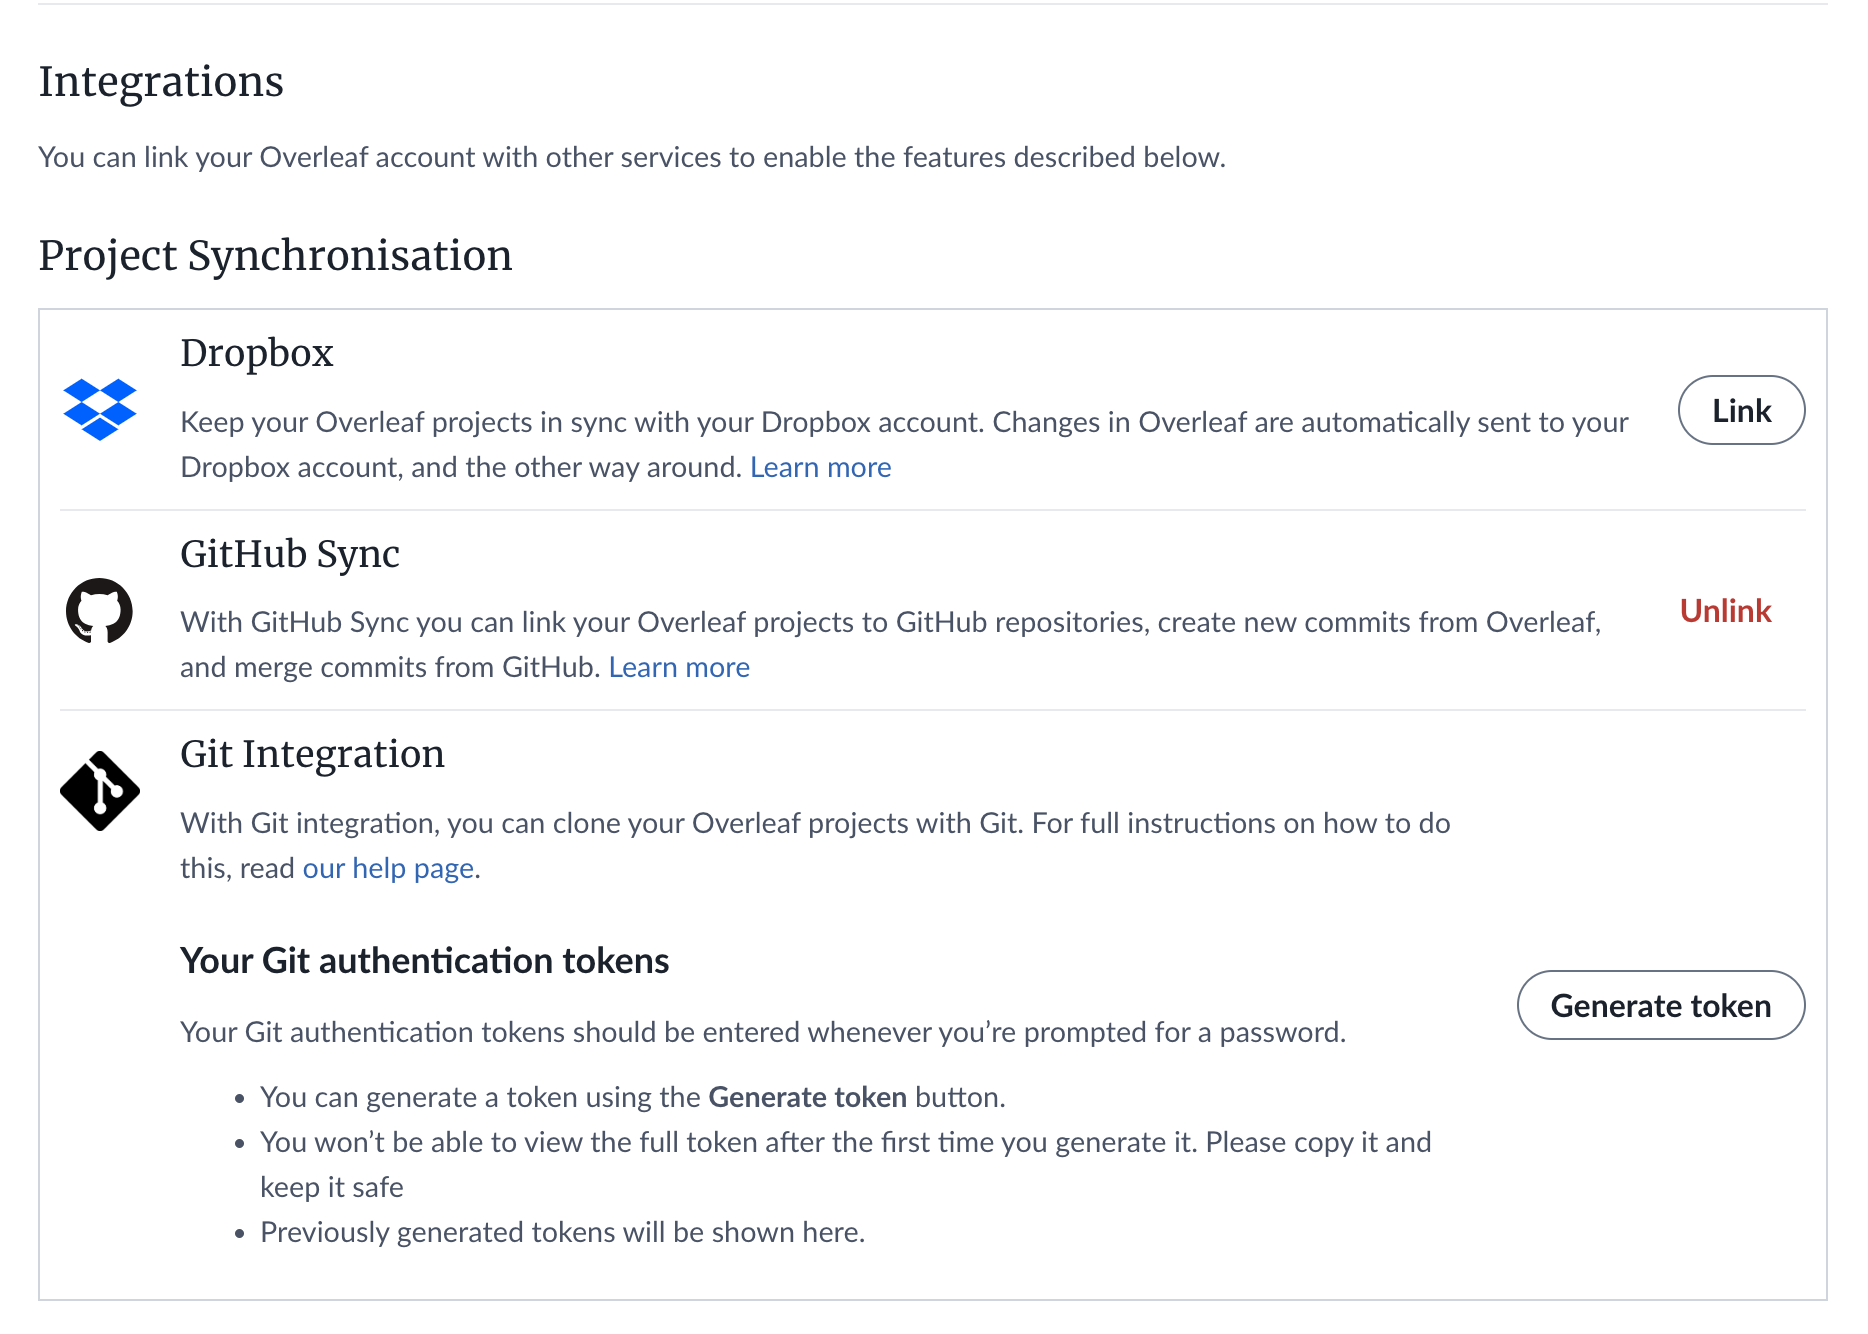
After installing the software on your computer, go to the “Account Settings” tab in your Overleaf page and scroll down to “Integrations”. You’ll want to select the Link button under “GitHub Sync” (another option is Git Integration, but that’s not what we want to do here).
Next, you’ll need to create a GitHub repo for your project. If this is your first time creating a GitHub repo, you can follow this guide.
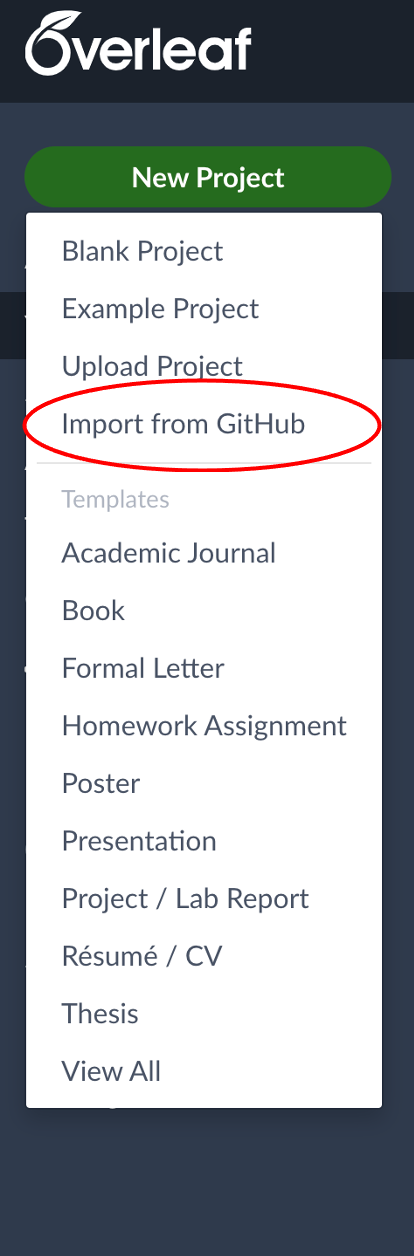
Once you’ve created the repo, you need to link the repo to an Overleaf project. To do so, go to the “New Project” tab and select “Import from GitHub”.
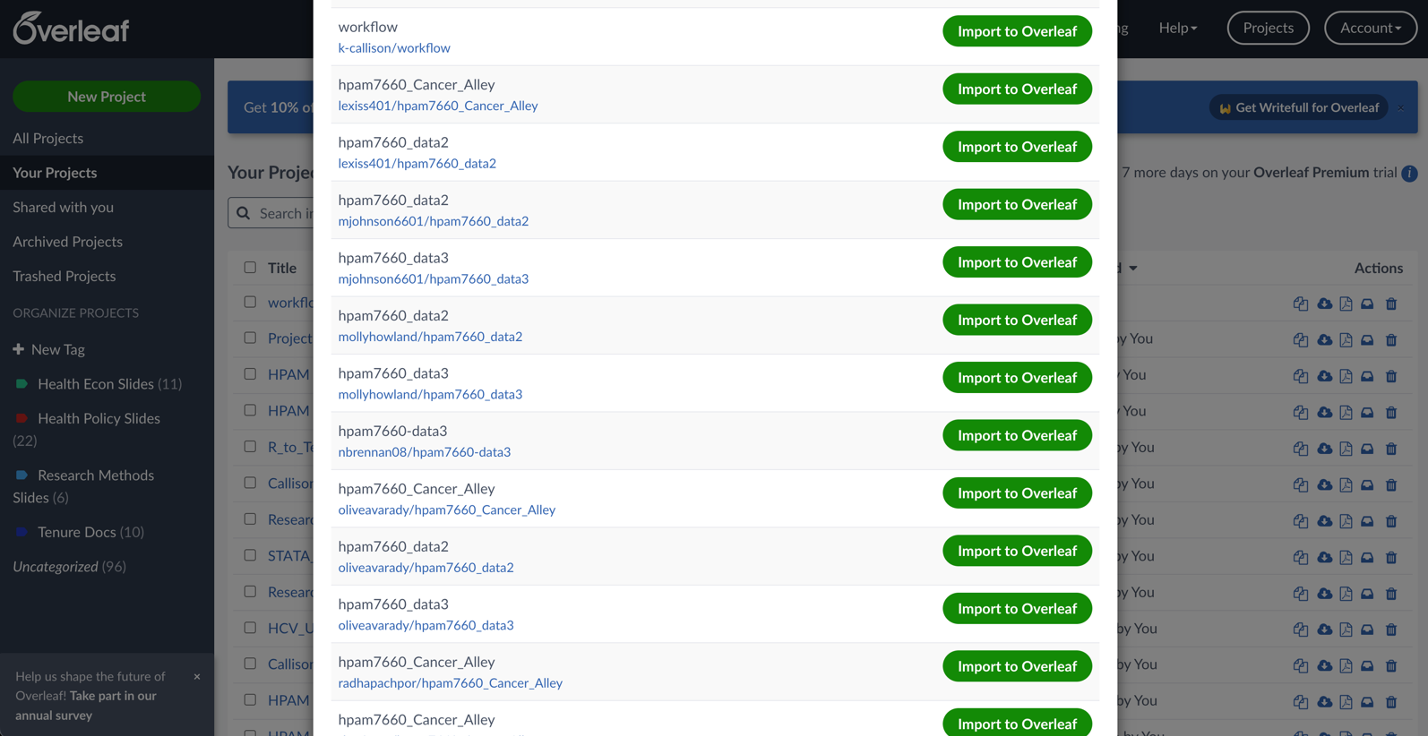
This should bring up a list of your active GitHub repos and you’ll want to choose the repo that is associated with the Overleaf project by selecting “Import to Overleaf”.
Now that you’ve linked your GitHub repo and Overleaf project, you can make edits to your Overleaf document and push those edits to GitHub. However, I would suggest not editing your documents directly in Overleaf. I like to maintain a single IDE for running code, editing manuscripts, creating slides, etc. Instead of running your code in R or STATA, uploading .tex files into Overleaf, and editing your manuscript or slides on Overleaf (which requires an active internet connection), you can do all that in one place with either VS Code (my preferred IDE) or RStudio.
Here’s my suggested workflow if you’re using VS Code, GitHub, and Overleaf in tandem:
- Link your VS Code project folder to a GitHub repo (see here for instructions).
- Go to Overleaf and follow the steps listed above.
- Edit your .tex files in VS Code and push changes to your GitHub repo.
- Pull those changes into Overleaf using the following steps…
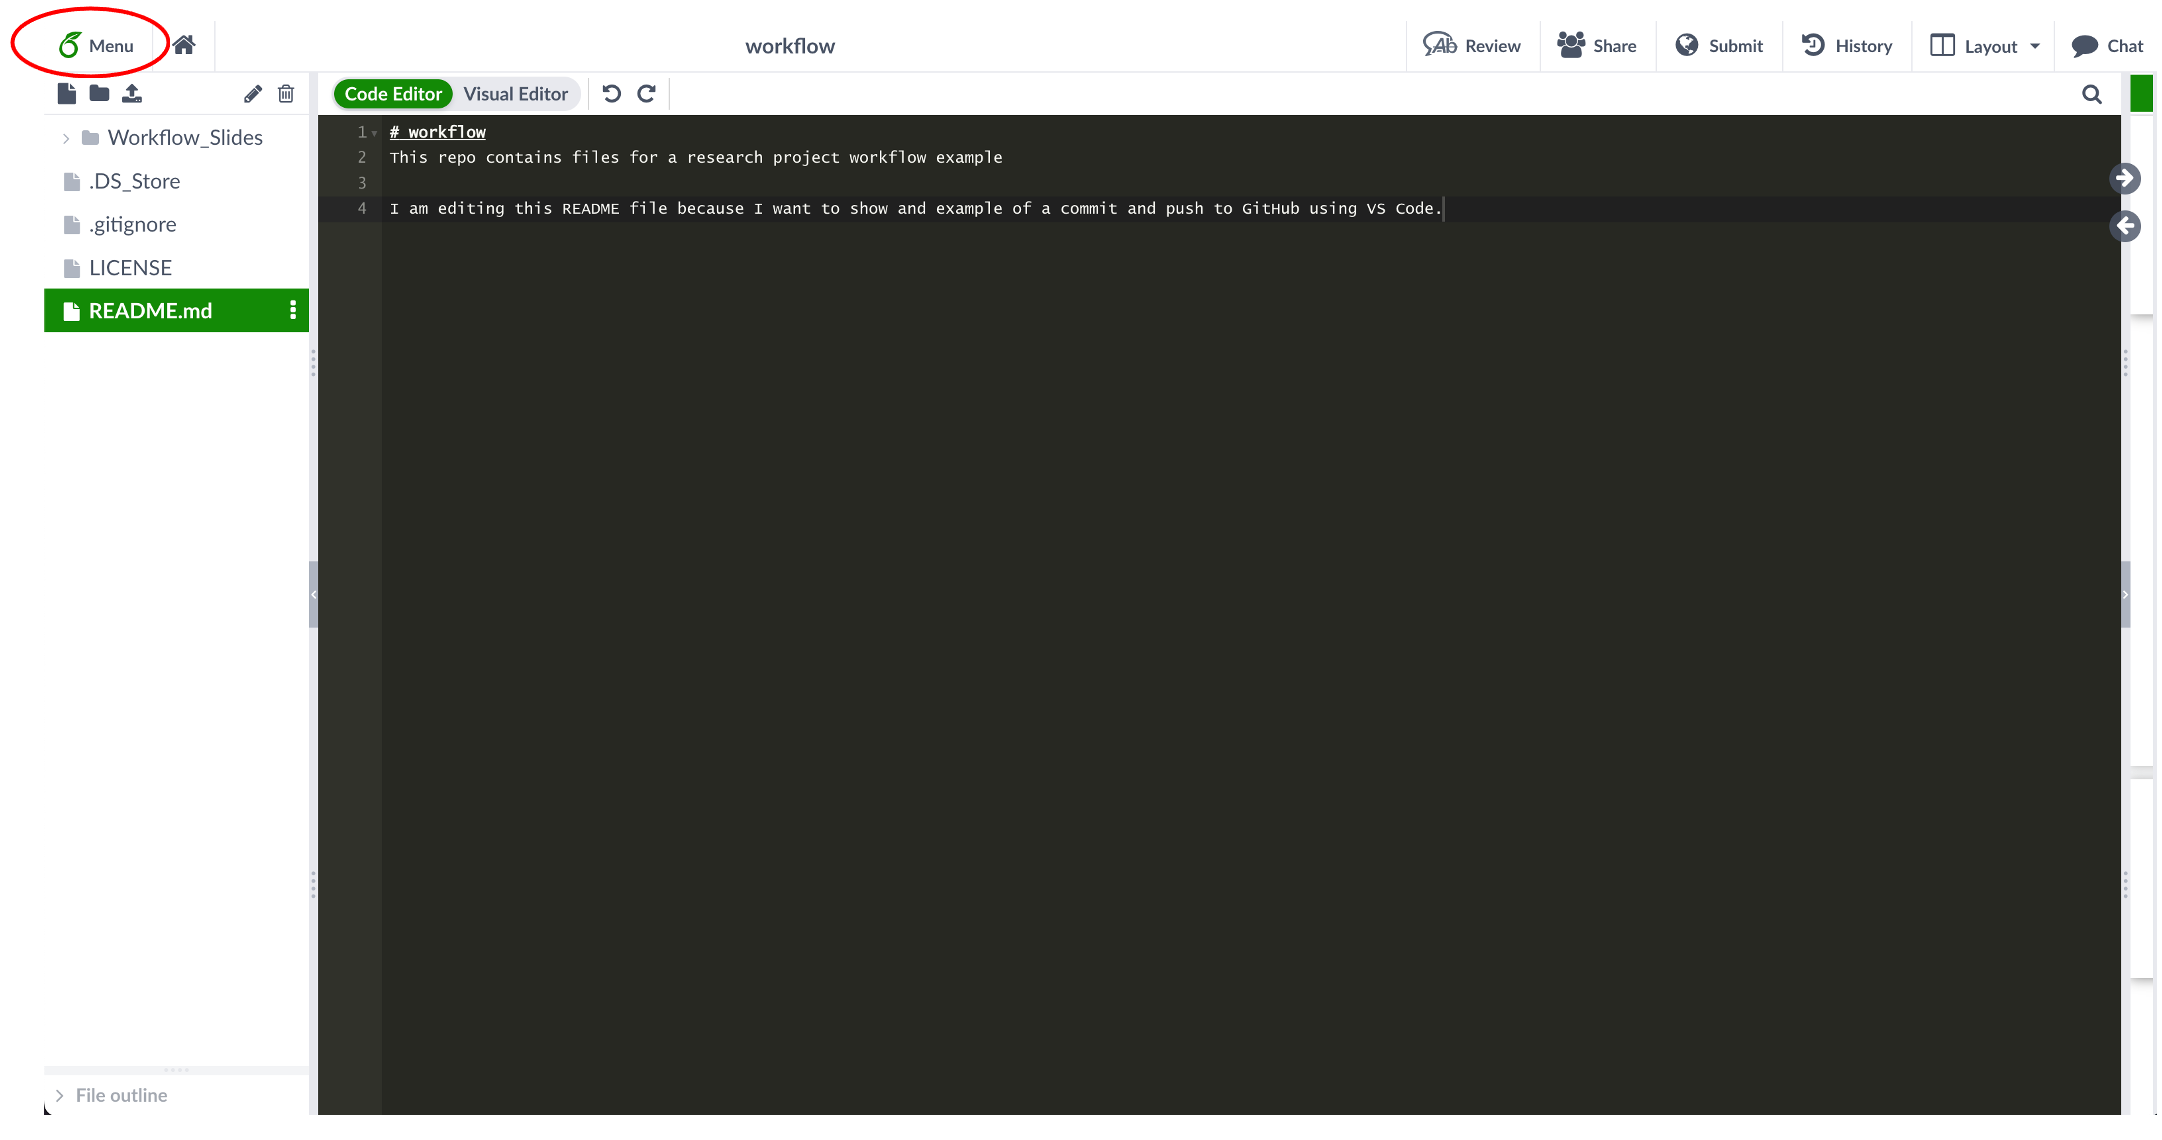
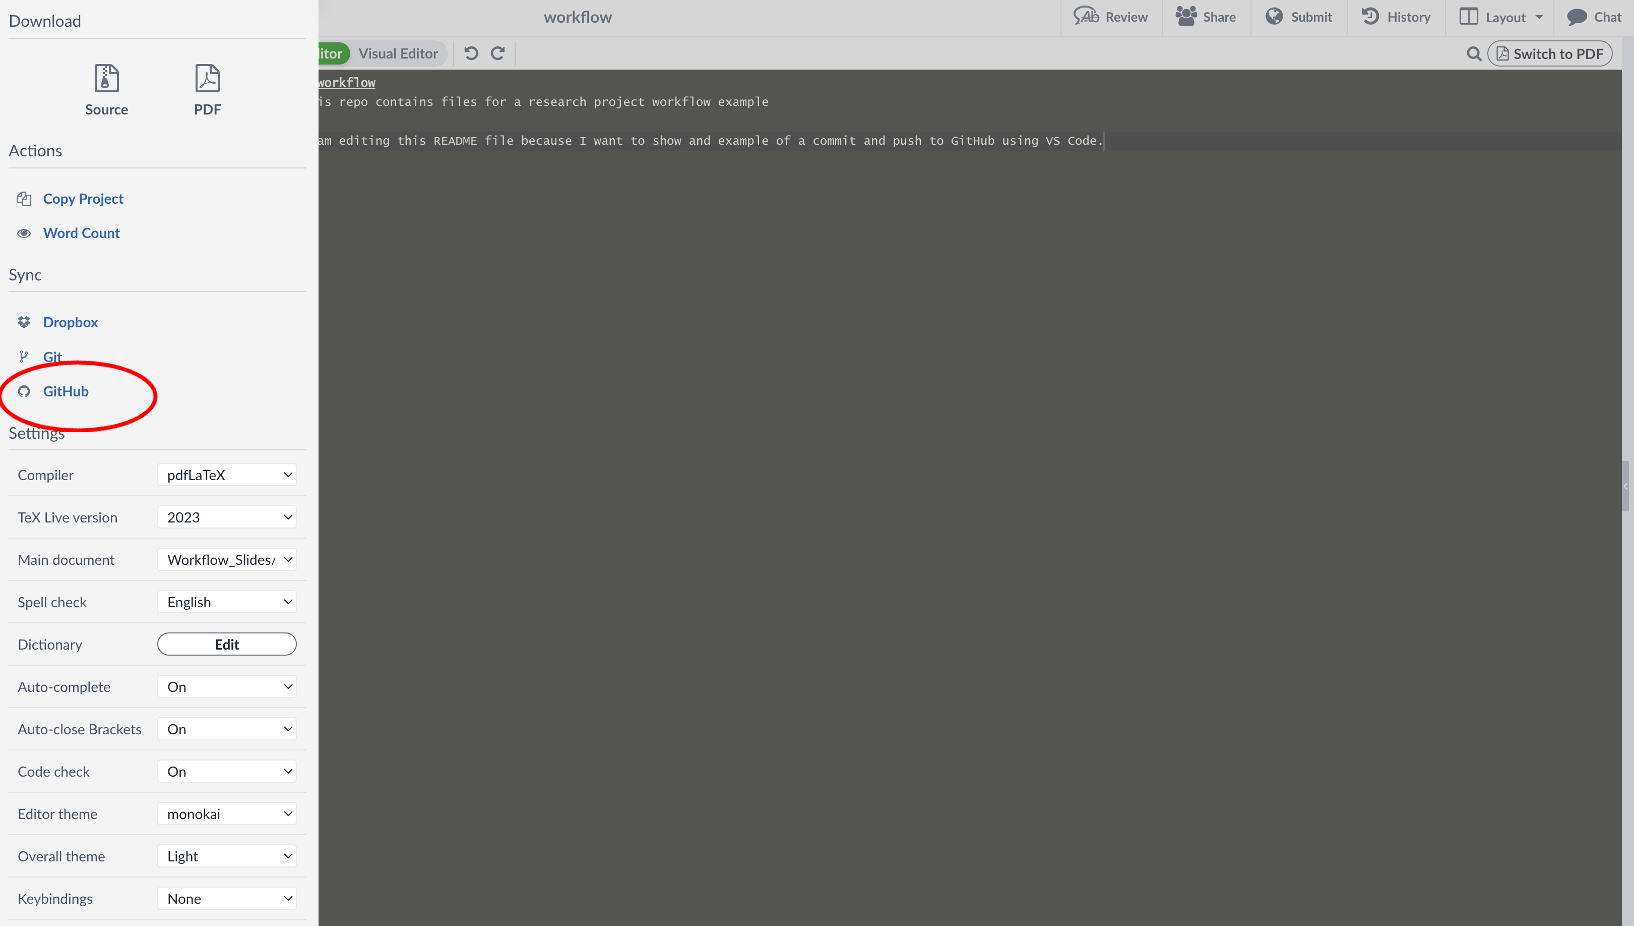
Go to the “Menu” tab in your Overleaf project:
Then select “GitHub”:
That’ll bring up a pop-up menu where you can select “Pull GitHub changes into Overleaf”:
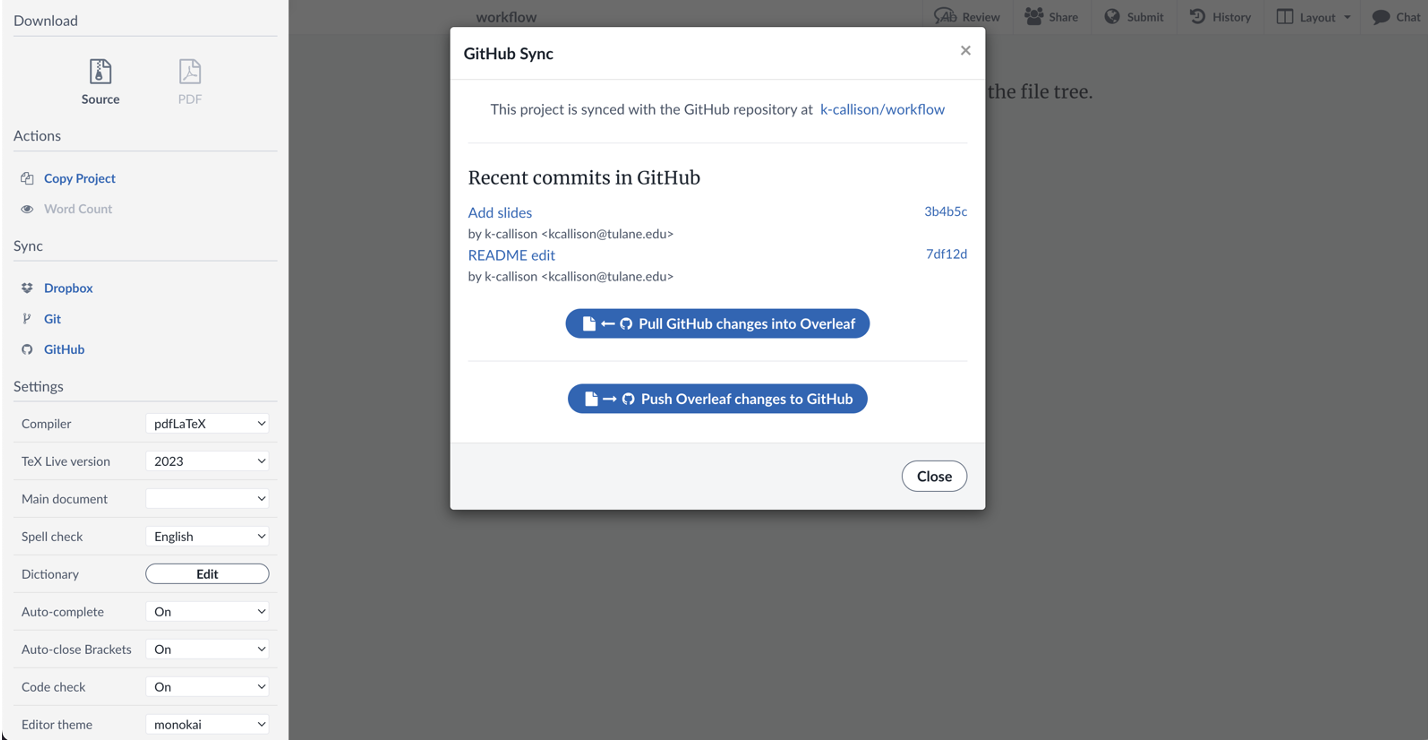
Be careful here. You do NOT want to “Push Overleaf changes to GitHub” because you’re not making any changes directly in Overleaf. Be sure to select the Pull option and not the Push option.
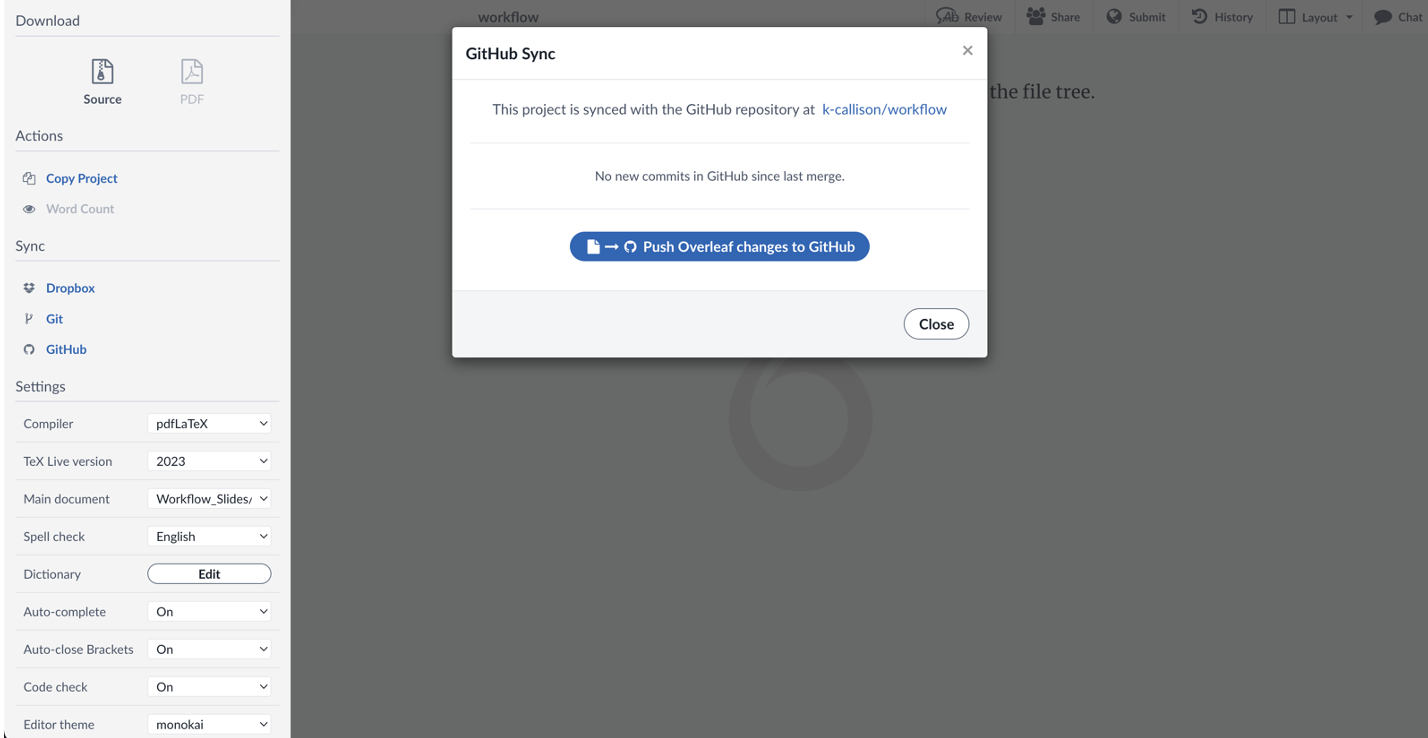
Once you’ve pulled the changes into Overleaf, you should get a confirmation message that looks like this:
The reason I like this workflow is because you have everything in one project folder/GitHub repo and can do all of your data work, document editing, and slide creation in one place. You can then push updates to Overleaf so that you can access your manuscript files or Beamer slides in Overleaf if you’d like (primarily useful for collaboration purposes).